Wednesday, March 30, 2011
Things Are Really Heating Up...
Not much to update here. The drywallers have hung all the drywall, but they can't start mudding because it is too cold. Did someone miss the memo that we are almost in April and it is supposed to be spring time? At any rate, yesterday our electrician got a temporary line into the house so that we can have power enough to run a few small heaters to warm up the inside of the house enough that the mud will dry. Fortunately, he didn't hook up the main heater as that would have gotten drywall dust in the system and made a mess for us over the next few years. So we are currently waiting for the house to warm up (or the weather - whichever comes first).
Thursday, March 24, 2011
Drywalled
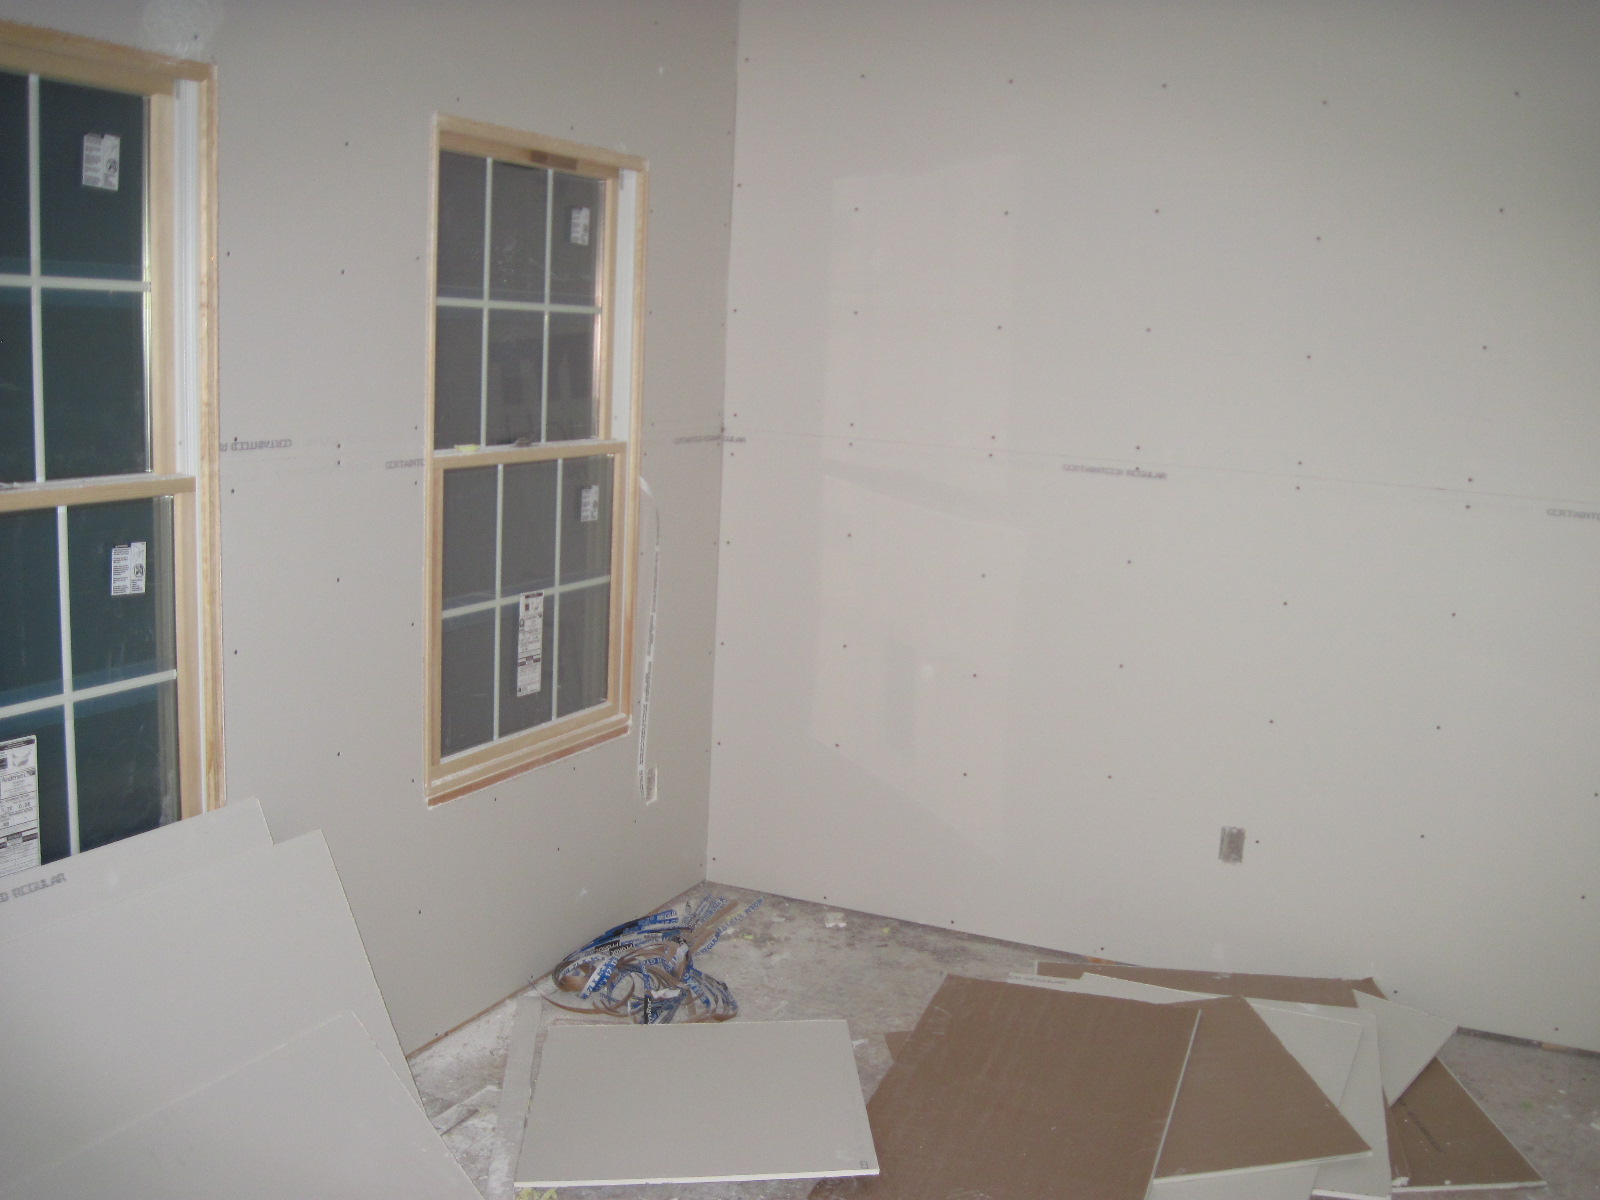
The drywall crew was hard at work today and got the drywall hung in the whole house. Chris had put up the stuff in the garage so that they could insulate, but everything else is now done - it is crazy how much different everything looks, but we are very excited to see the progress.
 |
| The garage |
 |
| The school room |
 |
| The main floor bathroom. |
 |
| The kitchen |
 |
| This is the bar in the kitchen |
 |
| The kitchen ceiling |
 |
| The living room |
 |
| Dining room |
 |
| Office |
 |
| Stairwell going downstairs |
 |
| Girls room |
 |
| Baby room |
 |
| Bonus room entry |
 |
| Bonus room inside |
 |
| The master bedroom. We are very pleased with how the cathedral style ceiling turned out. |
 |
| Master bath |
 |
| Laundry |

 |
| Stairs going down from the upstairs. |
So while there is still a lot to do, we are making progress and it is very exciting for us. Chris told us to be ready to paint in less than 2 weeks - any volunteers?
Wednesday, March 23, 2011
Siding Dilemma
About a month ago we took one of Jeremy's lunch hours to visit with a siding company here in Lincoln to pick out our siding, shingles, shutters, and gutters. They had a really neat computer program that would show a house similar to ours in design and they could change the colors of the siding, shutters, etc and show us how it would look. We had picked a medium blue color from the swatches they had and we shocked when they pulled it up and it appeared green on the program. We checked the other blue, a very light blue color by the swatches, but it looked perfect when we pulled it up in the program. We were assured that it would look that way and that siding looks a lot bolder when there is a lot of it on a house. We were also told to drive by a nearby neighborhood and see a house that would have the same color siding and shingles as ours. When we drove by, we were very happy with our choice.


Weeks went by as they always do and soon the siding was sitting in boxes in our garage and then they began putting it on today (Wednesday, March 23). We happened to decide to drive out that day and discovered, much to our dismay, that these colors did not in fact match. They were very different.

We quickly called Chris, who called the siding company representative who called his men to stop putting it on. We then were called back to go in an meet with him to get the whole thing straightened out. We quickly got the problem solved and so now we await phase 2 of siding - hoping for better results this time around. The siding company did treat us very well when we went back in and we would highly recommend them so far - except we think their computer program needs a little work.
Tuesday, March 22, 2011
Insulation
Sorry for the hiatus - we've been very busy with Jeremy's work and making decisions. Not much has been happening that is worth pictures, so there haven't been many posts. The major decision we had to make was if we wanted to stick with the basic fiberglass insulation or upgrade. Here is the decision we had to make: After days of deliberation and a few phone calls to Chris, we figured out that we should have just enough room in our budget (we hope) to do this. It might mean a few cutbacks for now, but soon enough we'll be able to make up for it in the money we will save. So we picked the third option. We went to see the house on the night that they did the spray foam, but unfortunately we didn't bring the camera and so there are no pictures of that.
 Today (Tuesday, March 22) they started blowing in the insulation and they will finish up tomorrow. It is almost fluffy looking, but mixed with cornstarch and water it becomes solid and stays in the walls nicely.

- Go with fiberglass insulation. This is the lowest cost, but also the least efficient. It leaves a lot of gaps around the insulation for air flow, but where the insulation covers it does a good job keeping the cold out in the winter and heat out in the summer.
- Go with blown in insulation. This costs more but is more efficient. It tends to fill in many of the gaps and its composition makes it slightly denser - helping to block air flow and sound coming through the wall.
- Go with a spray foam layer covered by blown in insulation. This is the most efficient and most expensive. However, most experts say it will pay for itself in the first 3-5 years depending on how high you keep you furnace.
 After days of deliberation and a few phone calls to Chris, we figured out that we should have just enough room in our budget (we hope) to do this. It might mean a few cutbacks for now, but soon enough we'll be able to make up for it in the money we will save. So we picked the third option. We went to see the house on the night that they did the spray foam, but unfortunately we didn't bring the camera and so there are no pictures of that.
 That was done on Monday and the girls thought it looked like Meringue and we think Clare might have just tried some if she could. It is pretty hard though - not like a nice fluffy pie topping.
 Today (Tuesday, March 22) they started blowing in the insulation and they will finish up tomorrow. It is almost fluffy looking, but mixed with cornstarch and water it becomes solid and stays in the walls nicely.
 Though the house is all surrounded by white fluffy stuff, we hope that the snow stays away!
One other note to pass along: sometime since we last updated the blog the heater was brought in and hooked up - though it doesn't run yet - we'll have to get the thermostat hooked up soon as this weekend is supposed to be another cold nasty one.

Sunday, March 6, 2011
Plumbing and Lighting and HVAC; Oh, My!
We haven't been doing a lot of updates because there wasn't a lot of changes to show. However, in the last week or two we have seen the plumbers complete most of the plumbing, the electrician complete most of the wiring, and the HVAC guys complete the ductwork. The framing, electrical, and plumbing inspections are all set to take place this coming week. Jeremy ran the CAT-5 cables for a home network and phone lines with a little help from Kati and the girls. Here are some updated pictures:
One more thing before we close:
For anyone who reads this thinking they may build someday while they have small children, we have some advice that will ease any labor you have to do at the house.

 |
| In this shot, you see the electric, the Cat 5 and the HVAC in our kitchen. |
 |
| The girls love the rainbows of colors in the rafters. |
 |
| More plumbing that runs above our dinette. |
 |
| The chase goes from the basement to the attic running HVAC, plumbing, and electric between floors. |
 |
| Jeremy is proud of his masterpiece. However, Clare said that his office is already a big mess. |
 |
| The upstairs hallway. |
 |
| The girls bathroom's dressing room will be here. |
 |
| The girls bathtub. |
 |
| The HVAC running all over our attic to keep us warm. |
 |
| Our laundry room. |
 |
| The bar area in the kitchen. Clare is very concerned about the mess. |
 |
| More plumbing. |
 |
| Everything but the kitchen sink... oh wait - that goes here. |
 |
| The can lights installed above our stair well. |
One more thing before we close:
For anyone who reads this thinking they may build someday while they have small children, we have some advice that will ease any labor you have to do at the house.
- Work in the early afternoon when it is warm out (if you build in the winter).
- Bring activities - even something as simple as rolling an empty wire spool around will suffice.
- Plan on everything taking twice as long as you expected unless you have a babysitter with you.
- And the most important tip we can give is - in the time before the toilets have been installed, always, ALWAYS bring one of these:

Subscribe to:
Posts (Atom)